Setting Up Custom Domain with Cloudflare Pages
With the blog now deploying successfully to Cloudflare Pages, the next step was getting my custom domain davidjcameron.com pointing to the new setup. This involved migrating from NameCheap’s DNS to Cloudflare’s DNS and CDN.
Following the Custom Domain Guide
I used Cloudflare’s official custom domain documentation to walk through the process. The steps were pretty straightforward:
- Navigate to the custom domains section in Cloudflare Pages
- Add the domain
davidjcameron.com - Configure the DNS records
Namecheap Domain Configuration
Since I host my domain at Namecheap, I needed to update the nameservers to point to Cloudflare. The process involved:
- Logging into Namecheap
- Finding the domain management section
- Updating the nameservers to Cloudflare’s provided ones:
meg.ns.cloudflare.compiotr.ns.cloudflare.com
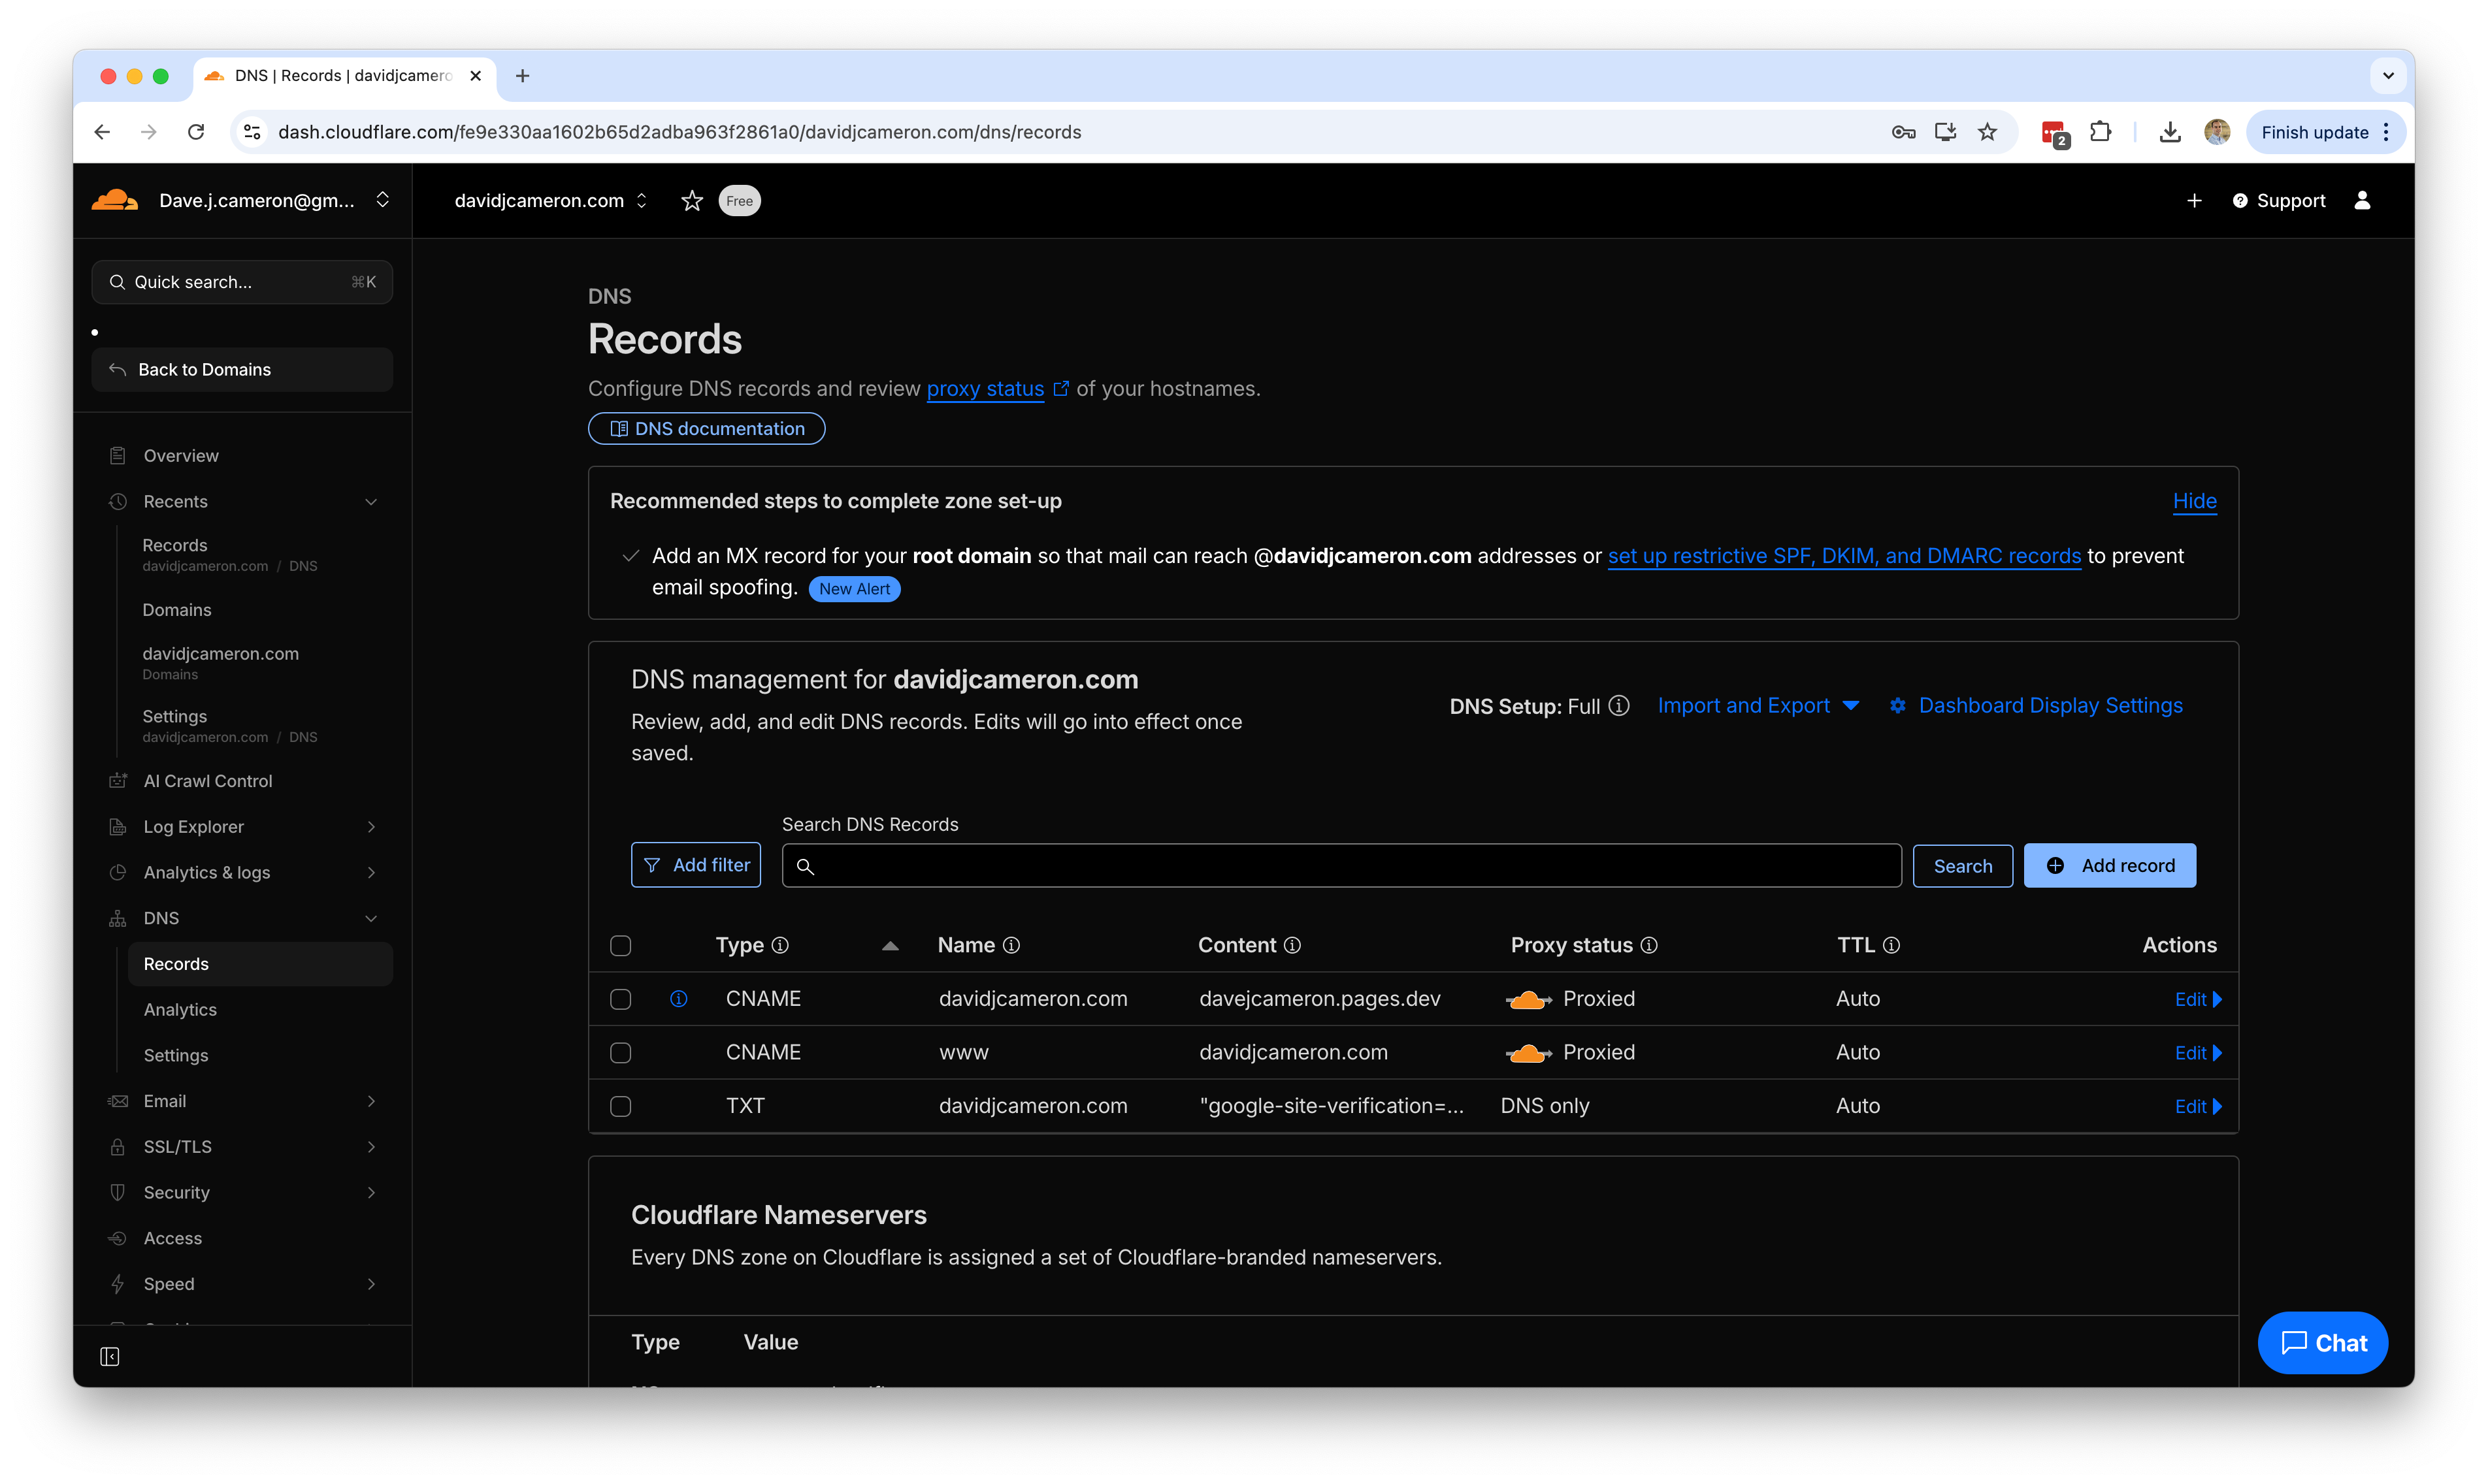
DNS Records Setup
Once the nameservers were updated (which took a few minutes to propagate), I configured the DNS records through Cloudflare’s dashboard:
1
2
A Record: davidjcameron.com -> 192.0.2.1
CNAME Record: www -> davidjcameron.com
Cloudflare automatically handles the A record pointing to their Pages infrastructure, so I didn’t need to specify the actual IP addresses.
Workers & Pages Custom Domain Configuration
After transferring DNS management to Cloudflare, there was one more crucial step: configuring the custom domain in the Workers & Pages section. This involved:
- Navigating to Workers & Pages in the Cloudflare dashboard
- Selecting my Pages project
- Going to the Custom domains tab
- Adding
davidjcameron.comas a custom domain - Ensuring the DNS records matched up correctly
This step ensures that Cloudflare properly routes traffic for the custom domain to the Pages application, and it also triggers the SSL certificate provisioning specifically for the Pages service.
Adding the WWW Subdomain
After setting up the main domain, I noticed Cloudflare prompted me to add a CNAME record for www so that www.davidjcameron.com would resolve properly. I added:
1
CNAME Record: www -> davidjcameron.com
This ensures that both the root domain and the www subdomain work correctly and both are covered by the SSL certificate.
Checking DNS Propagation
After setting up the records, I noticed my local computer wasn’t getting the updated DNS results and was still showing the old configuration. To bypass my local DNS cache and verify the changes were working, I used Google’s DNS lookup API at https://dns.google.com:
1
2
3
4
5
6
7
8
9
10
11
12
13
14
15
16
17
18
19
20
21
22
23
{
  "Status": 0 /* NOERROR */,
  "TC": false,
  "RD": true,
  "RA": true,
  "AD": false,
  "CD": false,
  "Question": [
    {
      "name": "davidjcameron.com.",
      "type": 1 /* A */
    }
  ],
  "Answer": [
    {
      "name": "davidjcameron.com.",
      "type": 1 /* A */,
      "TTL": 282,
      "data": "172.64.80.1"
    }
  ],
  "Comment": "Response from 172.64.33.222."
}
This showed that the DNS was correctly pointing to Cloudflare’s infrastructure (172.64.80.1), confirming the changes were working even though my local DNS hadn’t updated yet.
Disabling Pages.dev Preview URLs
To keep all traffic going through my custom domain and avoid SEO duplication, I also disabled access to the default Cloudflare Pages.dev subdomain. Following the Cloudflare documentation:
- In the Workers & Pages dashboard, went to Settings > General
- Found the Enable access policy section
- Set the access policy to restrict access to the *.pages.dev subdomain
This ensures that all traffic is properly routed through davidjcameron.com and prevents duplicate content issues.
SSL/TLS Configuration
One of the nice benefits of using Cloudflare is the automatic SSL certificate provision. As soon as the DNS was configured, Cloudflare automatically provisioned SSL certificates for both davidjcameron.com and www.davidjcameron.com.
Verification and Testing
After the DNS changes propagated (usually 5-10 minutes but can take up to 24 hours), I verified:
- The domain resolves to Cloudflare’s servers
- HTTPS redirects work properly
- The blog loads correctly at the custom domain
- All internal links and assets load properly
Benefits of the Migration
One of the main motivators for migrating to Cloudflare was wanting to play with more of the platform. You can do a fair bit with their Free plans, and the migration provides several advantages:
- Better performance through Cloudflare’s global CDN
- Enhanced security with DDoS protection and WAF features
- Automatic SSL with free certificates
- Analytics built into the Cloudflare dashboard
- Additional features like Workers, KV storage, and edge functions available even on the free tier
The migration was surprisingly smooth, and having the domain fully under Cloudflare’s management gives me more control over the site’s performance and security.
Now with the deployment pipeline working and custom domain configured, the blog infrastructure is solid for the daily creation challenge! 🚀